Add posts to the changelog
How to get there: Click Boards in the sidebar → select your Changelog board. To add a post to the changelog, open the post and tag a comment for changelog.
Note: This guide is based on the out-of-the-box setup for ProductLift. You can change a lot of this in your portal, so not all will look the same.
When the work on your post is finished you can change the status of the post and inform your customers about it.
Step 1
Start by navigating to "Roadmap" on the portal page.

Step 2
Select the post that is finished in your roadmap and go to "status" in the top right corner of the page.
Here you'll find the options to change the status. To move the post to the changelog, you have to select the "now available" option.
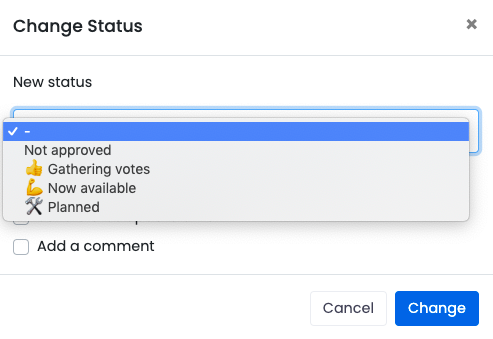
Step 3
When you change the status you can directly inform your customers by adding a comment or sending them an email with the update.
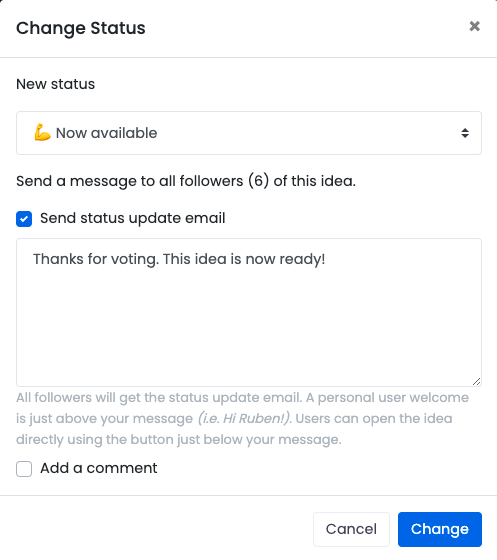
If the change is small (a typo fix, a clarification, a backfilled historical release) and you do not want to email every subscriber, turn off Notify subscribers before the post becomes visible on the changelog. The switch lives in the Publication & Status section on both the create form and the post sidebar. See Manage changelog subscribers for the full behavior.
Step 4
Your post is now added to the changelog.
Users see the post description popping up. However, you may want to change this.
To do this, you must add a new comment and click the "Use for changelog"-icon.
This comment will now be used for the changelog description. The user will be selected as the changelog author.
The original post:
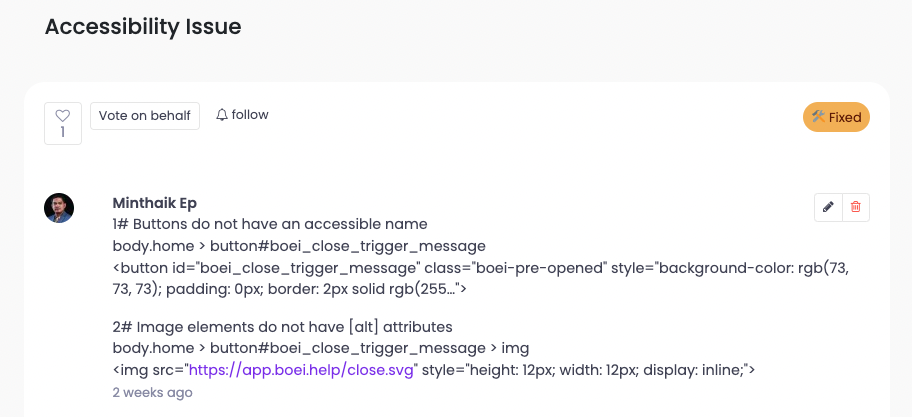
Clicking the "Use for changelog"-icon:

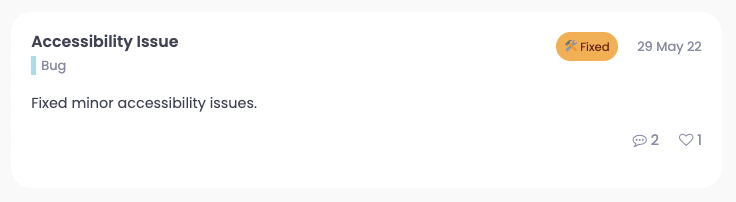
Changelog entry:
Related articles
- Manage categories - the category list is shared with your feedback and roadmap boards.
- Manage filters and sort - decide which filter chips and category layout end users see on the changelog.
- Manage changelog subscribers