Import feedback posts
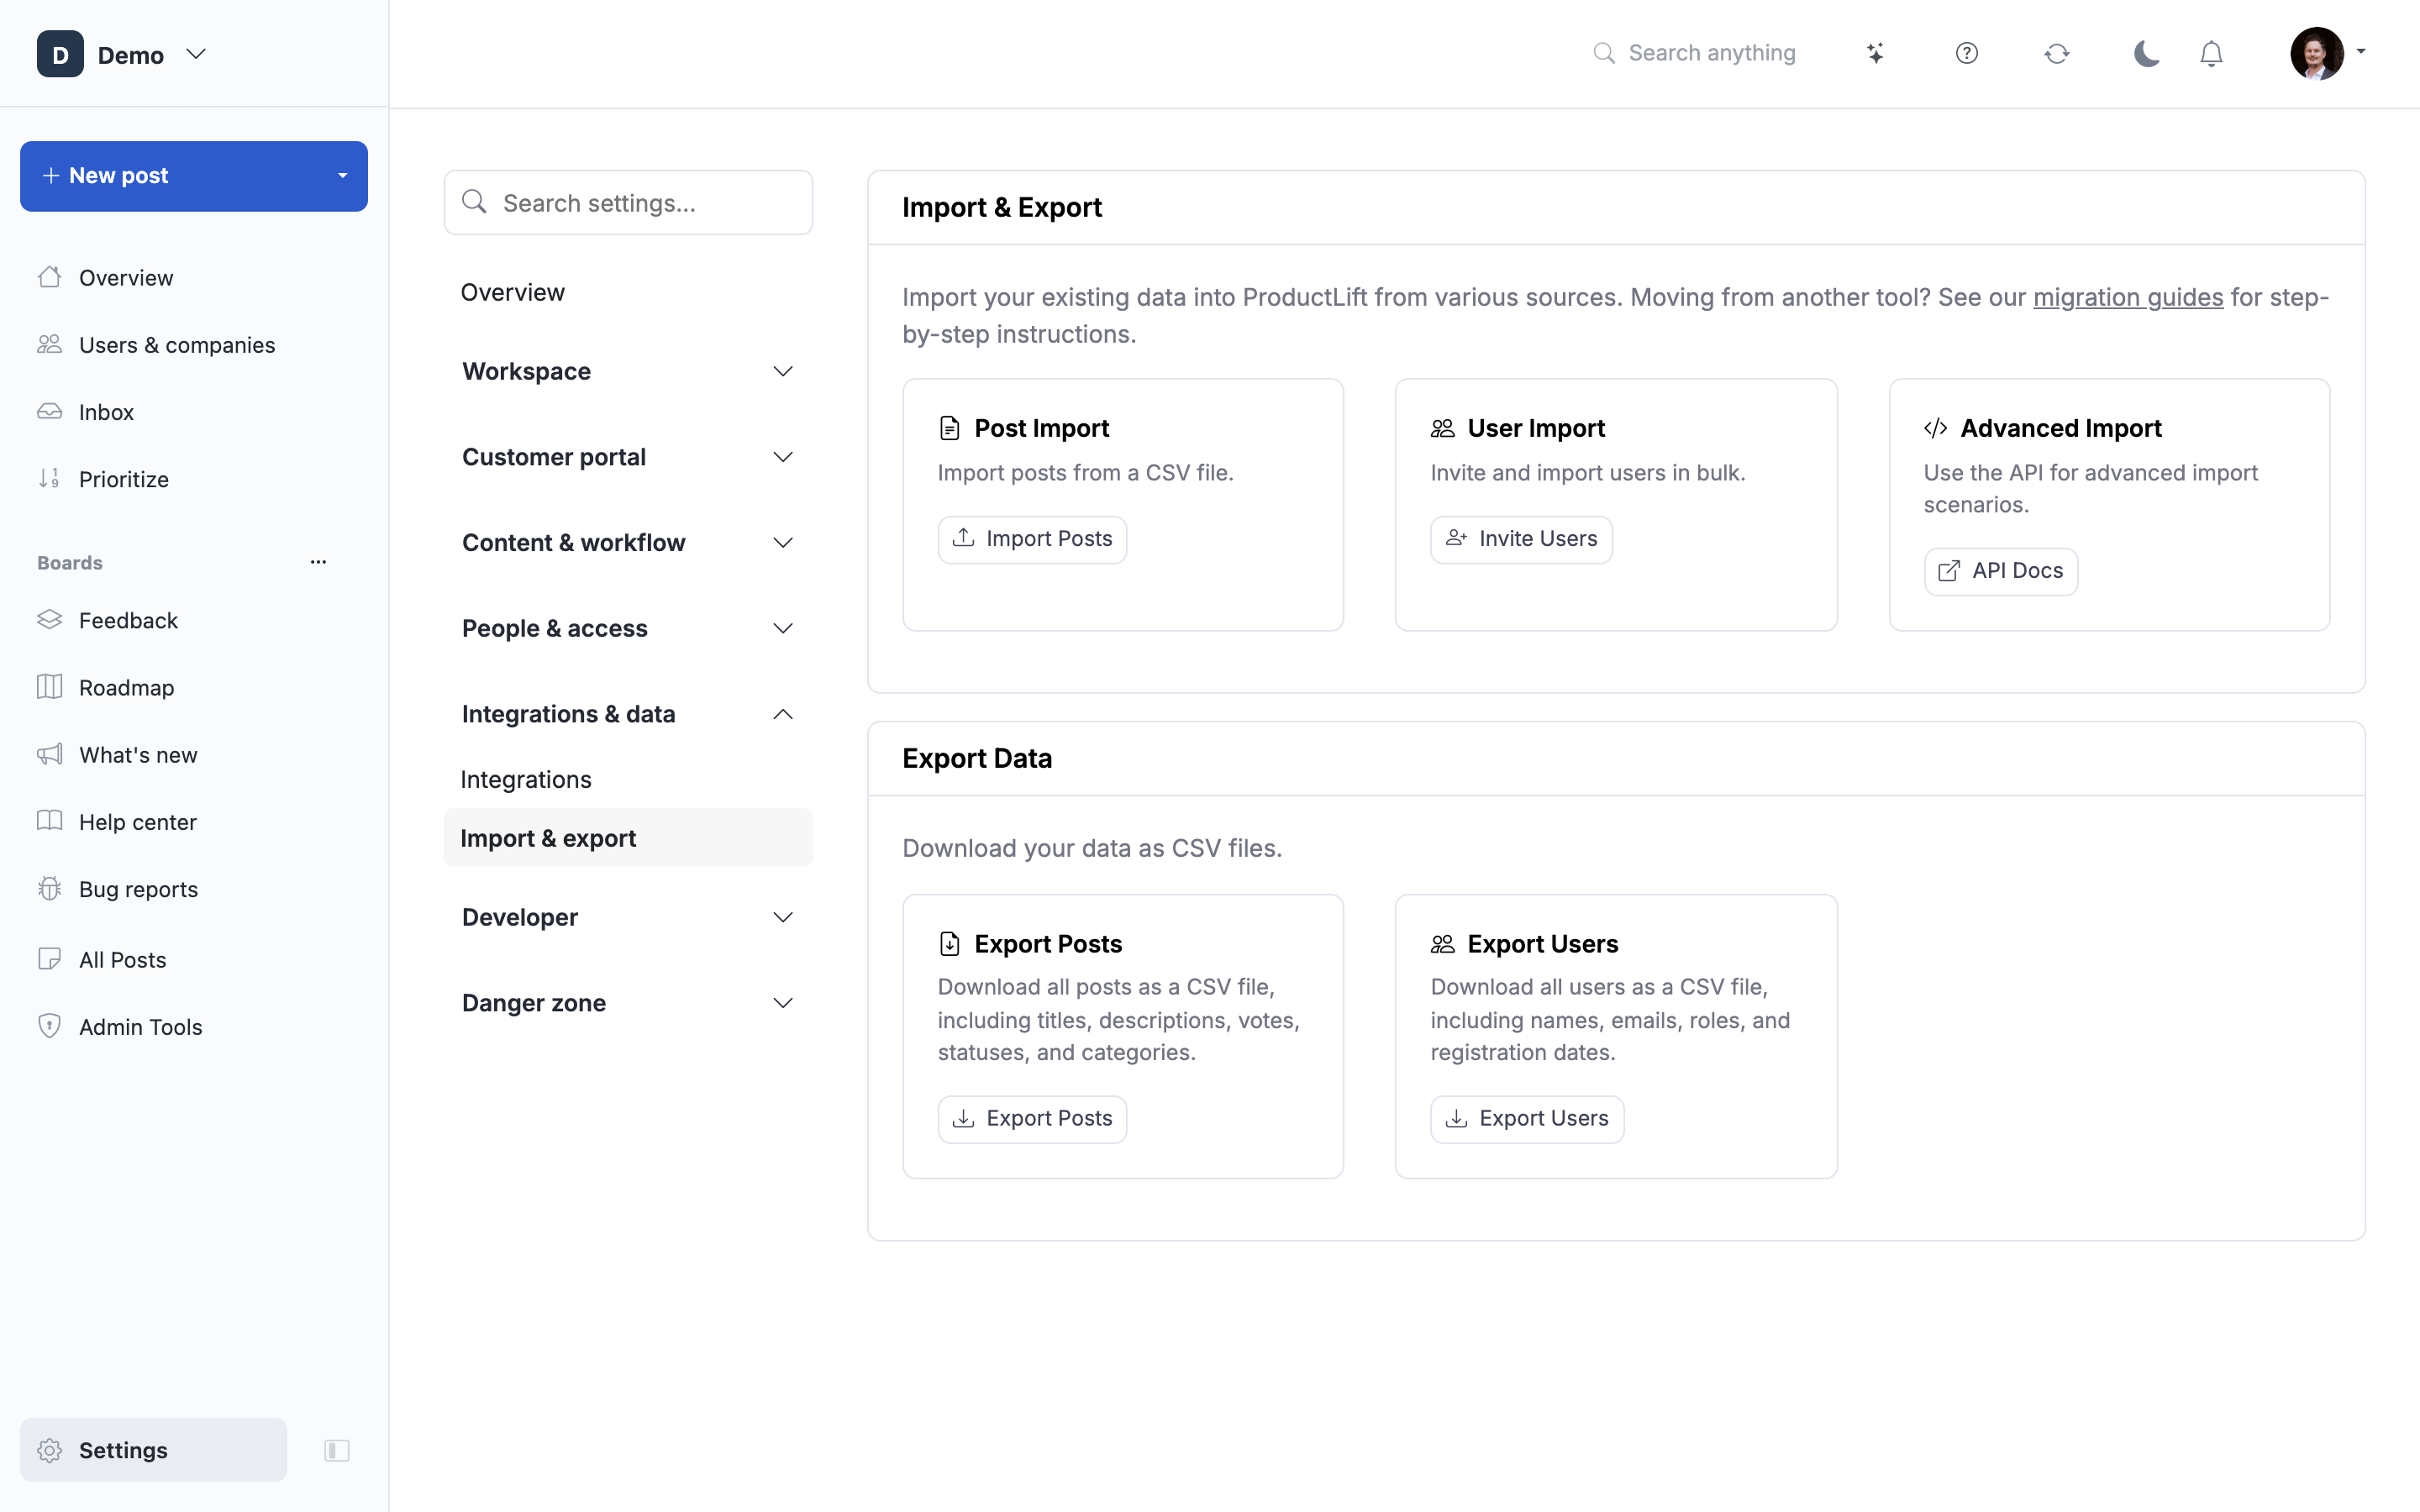
How to get there: Go to Settings → Import & export.
Bulk-import posts into ProductLift from a CSV or Excel file. The wizard auto-detects your columns with AI, lets you create missing statuses and categories on the fly, and tracks every import as a batch so you can find and review its posts later.
Preparing your file
Supported formats
- CSV (
.csv) - Excel (
.xlsx,.xls) - Tab-separated values (
.tsv,.txt)
Templates
The first step of the wizard has direct download links for an Excel Template and a CSV Template with all supported columns pre-filled.
Supported columns
The import accepts:
- Title (required)
- Description, Excerpt
- Status, Category, Section
- Tags
- Created Date, Estimated Date
- Author Email, Assigned To
- Voter Emails, Number of Votes
- Prioritization (Impact / Confidence / Ease / Reach)
- MoSCoW Priority
- Version, Release, Platform
- Published, Allow Comments
- Jira Key, Azure Boards ID
You don't have to use all of them. The mapping step lets you ignore any column.
Column-name flexibility
You don't have to rename headers in your file. AI maps your column names to ProductLift fields automatically and suggests a mapping you can adjust before continuing.
Data formatting
- Title -- max 255 characters.
- Description -- markdown supported. Long descriptions are fine.
- Status / Category -- match by name (case-insensitive). If a value doesn't exist in the target board, the wizard flags it and offers to create or map it (see Handling missing statuses and categories below).
- Tags -- comma-separated. New tags are auto-created.
- Voter Emails -- semicolon-separated list of emails (e.g.
alice@example.com;bob@example.com). Each email becomes a voter on the post. Use semicolons because commas appear inside email lists in many exports. - Dates --
YYYY-MM-DDorYYYY-MM-DD HH:MM:SS. - Votes -- integer count only (e.g.
23, not23 votes). - Author Email -- if it matches an existing user, they are shown as the author.
Example CSV
title,description,status,category,tags,author_email,created_at,votes
"Add dark mode support","Users want a dark theme option.","Under Review","UI/UX","ui,design","customer@example.com","2026-01-10",47
"Export reports to PDF","Export analytics as PDF.","Planned","Reporting","export,pdf","admin@example.com","2026-01-12",23
"Slack integration","Notify Slack on status changes.","New","Integrations","slack","john@customer.com","2026-01-15",15
The import wizard
The import wizard has three steps: upload, mapping and preview.
Step 1. Upload + pick a board
- Open Settings → Import & export.
- Click Choose CSV or Excel file (or drag a file onto the box).
- Select an Import into board from the dropdown. Posts in this import will be created on this board, and any new statuses you create will be attached to it.
- Click Upload and Continue.
The Excel/CSV templates are available as download buttons on this same screen, plus a Show supported fields toggle that lists every column the importer recognizes.
Step 2. Column mapping (AI-assisted)
ProductLift uses AI to suggest how each of your columns maps to a ProductLift field. The mapping table shows:
- Your Column -- the header from your file.
- Maps To -- editable dropdown with every supported ProductLift field.
- Sample Data -- a few example values from your file (use the chevron arrows to flip through rows).
Adjust any mapping you don't like, then click Continue to Preview. Title is required; other fields are optional.
Step 3. Preview, fix issues, and import
The preview screen shows:
- A header counting how many posts will be created and into which board.
- A list of posts with their parsed status, category, tags, votes, and dates.
- Warning icons next to any rows referencing a status or category that doesn't exist on the target board.
Handling missing categories and statuses
If your file references categories or statuses that don't exist yet, panels appear above the preview:
- Missing categories -- check each name to create it as a new category, leave it unchecked to import those posts as uncategorized.
- Missing statuses -- per row, choose:
- Create new -- name + color picker, will be created on the target board.
- Map to existing -- pick an existing status to use instead.
Statuses you create here are auto-attached to the board you picked in Step 1, so the imported posts have somewhere to live.
Run the import
Click Execute Import when the preview looks right. The job runs in the background and stamps every imported post with an import_batch identifier so you can find them all later.
When it finishes, you'll see a View Imported Posts link that takes you to All Posts filtered by the import batch. From there you can:
- Spot-check a few posts.
- Bulk-edit (status, category, tags) using the bulk action bar.
- Bulk-delete the whole batch if you want to redo the import.
Handling import errors
Common issues
- "Title is required" -- a row is missing a title. Fix in the source file and re-upload.
- "Status not found" -- the target board doesn't have that status. Use the "Missing statuses" panel on the preview step to create it or map it to an existing one.
- "Category not found" -- same as above, use the "Missing categories" panel.
- "Invalid email" -- author/voter email isn't in valid format. Either fix it or remove the column; the post still imports without an author.
- "Date format invalid" -- reformat your dates as
YYYY-MM-DDin the source. - "Vote count must be a number" -- strip non-numeric characters (e.g.
23 votes->23).
Test before doing a big migration
For large migrations, import the first 5-10 rows as a separate test file first. Open a few of the imported posts to make sure dates, authors, statuses, and tags look right. If anything is wrong, fix the source file. Remove the test posts before importing the complete file to avoid creating duplicates.
If you want to start over after a test, use View Imported Posts to open that batch, check the selected records and bulk-delete the test posts before importing the complete file.
For exports from another feedback tool, Jira or Trello, follow the migration guide. It explains which data transfers through the import and what needs a separate step.
API import alternative
For automated, ongoing, or very large imports (tens of thousands of posts) you can skip the wizard and use the API directly. See:
Related articles
- Bulk Post Operations -- edit imported posts in bulk after the fact.
- Creating Posts -- manual post creation.
- Post moderation, how customer submissions are reviewed; an admin import is a different route.
- Advanced Filtering and Search -- find imported posts.
- ProductLift API -- programmatic alternative to the wizard.
Assign imported posts
Map an assignment column to Assigned To (Email). Use the email address of an existing admin in this workspace. Headers such as “Assigned to”, “Assigned” and “Owner” are still recognised.
The import does not create a new user for an assignment. If the email does not match an existing admin, the preview shows a warning and the post will be imported without that person assigned. Add or invite the admin first, then check the preview again. Author and voter email columns have their own rules.
 Powered by ProductLift